The Data Management tools within Microsoft Dynamics make it so much easier to import data into the system and there are a lot of data templates available through Lifecycle Services that we can use to import in standard data. But that isn’t the end of it. We can create new templates and create mini data packages that we can use to create data within Dynamics and also that we can save away to apply to other environments as well. These data packages are a lot easier to update as well because they are just Excel workbooks, and cutting and pasting data into them is super simple.
In this example we will show how we can create a new import template that will create a new Released Product along with a Bill Of Material for it, and also create all of the component Released Products as well for the Bill of Materials so that we don’t have to do any manual data entry.
After we have done this we will also have a package template that we can use later on to load any other Product and Bill of Material in as well.
Topics Covered
- Getting Started
- Creating a Data Template Package Export
- Turning the Exported Package into an Import Template
- Repackaging up the Template
- Importing in the Data Package
- Viewing the Results
Getting Started
To start off we need to get a copy of our BOM that we will be creating an import for.
For this example we will be modelling an Imperial AT-ST. And all of the designs and BOM details are available for us on line.
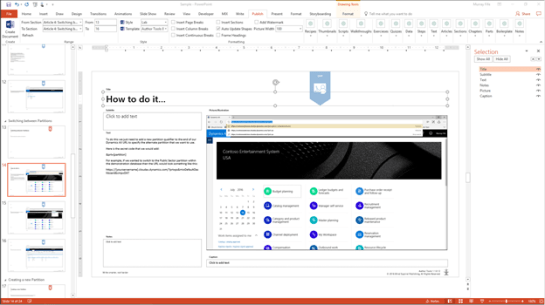
How to do it…
After a quick search of brickset.com we can find everything that we need.
Drilling into the set details we will be able to see all of the components that we need to build the AT-ST. From the Parts screen, we can click on the View inventory full screen link.
That will take us down to the parts list and we will then be able to click on the Download the inventory as a CSV file option.

The next thing we will see is everything that we need to start building our Bill of Materials from.
Rock on!

Creating a Data Template Package Export
Now that we have our Bill of Material details we can start creating the import template that we will use to reformat the data for the load. The easiest way to do this is to create an export of the existing data in the system and use that as a template.
How to do it…
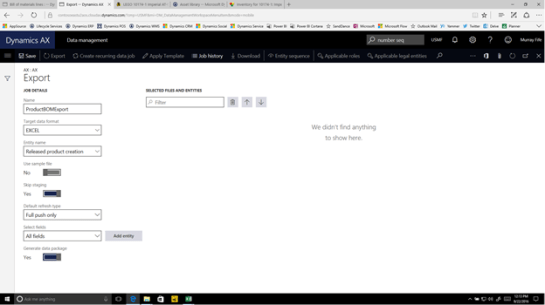
To do this we will go to Dynamics and then open up the Data Management workspace. Then we will click on the Export button to create our template.

This will open up the Export form where we will want to define all of the data entities that we want for our template.
We will start off by typing in a Name for the Export Job.
Then from the Target data format dropdown list select the EXCEL option.
Now we will want to start selecting the Entity names that we will want to be included. We want to select them in the order that we want them to be loaded, so we will start off by selecting the Released Product Creation entity.
And then we will click on the Add entity button.
This will add the Released Product Creation entity to the workspace.
Now we will want to add the Bill of Material entities to the job as well. So we will click on the Entity name dropdown again and select the Bill of Materials Headers and Versions entity and click on the Add Entity button.
This will add another entity to the job. We are not quite finished though. we will click on the Entity name dropdown again and select the Bill of Materials Lines entity and click on the Add Entity button.
Now that we have the three entities in the job we can click on the Export button in the menu bar.

This will start the export of the entities within the Data Management job.
Within a few second it will return back and show that some products, and BOM details have been exported out. All we need to do now is click on the Download package button in the menu bar.

This will allow us to save the package Zip file to our desktop.
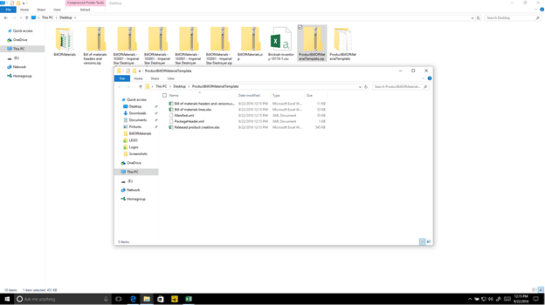
If we open up the Zip file then we will see that there is an Excel file for each of the entities. We can’t modify those files though because they are embedded within the archive.

Turning the Exported Package into an Import Template
Now that we have an export package we can use it as a template for an import template.
How to do it…
But we will first need to make it something that is editable. So we will go to our desktop and then select the Extract All option on the zip file.
And then extract the package to our desktop.
Now that we have extracted out the files we can open up the folder and we will see all of the workbooks for the entities again.
To start off we will want to configure the Released product creation workbook to include the main product information for the AT-ST and the component parts.
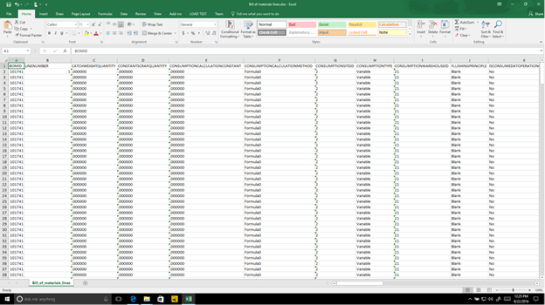
When we open up the file we will see that it already contains all of the data from Dynamics.
All we need to do is delete everything except for one row which we will use as a template.
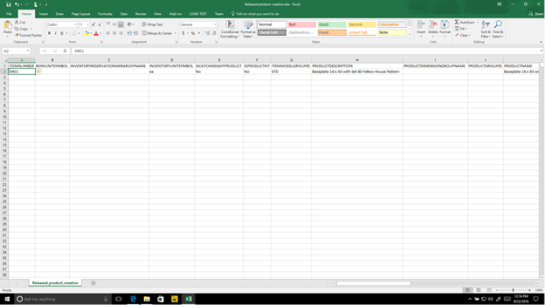
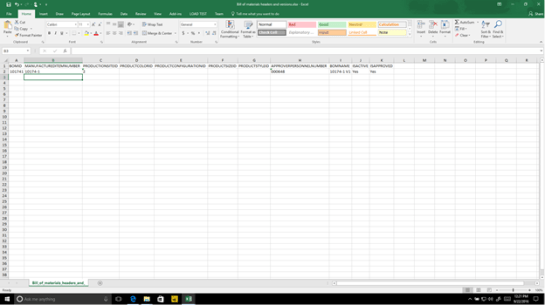
Then we will look through the template and update the first line to use the product information from the parent product – 10174-1 in this case and also update all of the descriptions.
Next we will return back to our CSV file that has all of the component parts, and copy all of the item codes.
Now we can paste these into the item and product columns.

Next we will want to add the product descriptions. For this example though we will want to combine the two descriptions together in the source CSV file. Then we can copy them.
And paste them into the template worksheet.
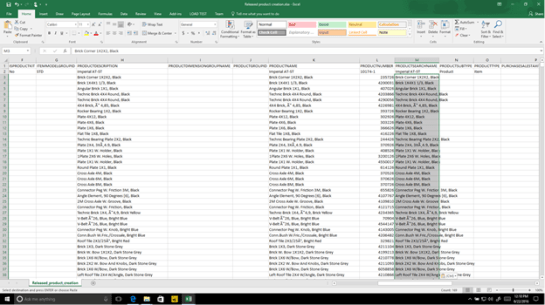
All that is left to do is to fill in all of the other columns with the default information that is in the first row that we saved away just for this purpose. After we have done that we can save the workbook and exit out of it.

Now we will return to folder with the template files, and we will want to open up the Bill of Materials Headers and Versions workbook.
As with the Products file we have all of the data from Dynamics AX in there.
We will delete all of the rows except for one which we will use as a template.
All we have to do with this one is update the BOMID, the MANUFACUREDITEMNUMBER and the BOMNAME columns and save and close the file.
Finally we will return to folder with the template files, and we will want to open up the Bill of Materials Lines workbook.
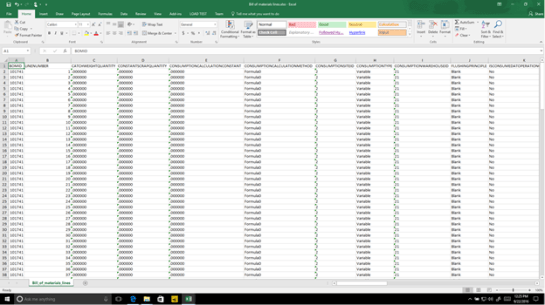
Again we will see all of the existing Bill of Material lines.
And we will delete all of the rows except for one.
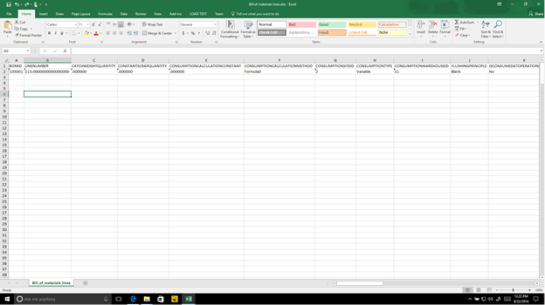
Returning back to the source file we will select all of the component part item numbers.
And then paste them into the ITEMNUMBER column.
Then we will select all of the part quantities required for the build.
And paste them into the QUANTITY column.
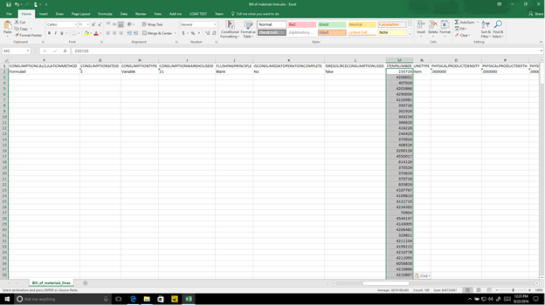
Then we will copy all of the default information (except for the LINENUMBER) from the first row down into the new rows that we created.
We will need to do a little massaging of the data for the BOM line numbers though. We will create a new column and a quick formula that creates a sequential number.
And then copy the formula to all of the rows.
Then we can paste the values into the LINENUMBER column.
Then we just need to delete the work column to tidy up the worksheet.
After we have done that we can save the file and then close it.
Repackaging up the Template
Now that we have updated the contents of our import file we need to convert it back into a Package file that Dynamics is able to import through the Data Management tools.
How to do it…
Luckily that is pretty simple. All we need to do here is select all of the files in the folder and then select the Zip option from the file explorer ribbon bar.
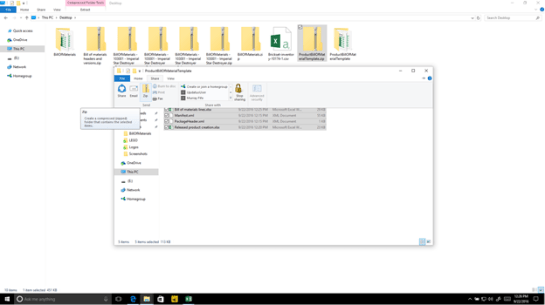
Then we can rename the zip file and move it out of the working folder and put it on our desktop.
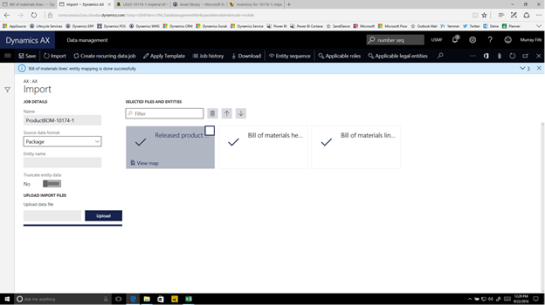
Importing in the Data Package
Now that we have the data package we can import it back into Dynamics and have the Data Management tools do all of the data entry work for us.
How to do it…
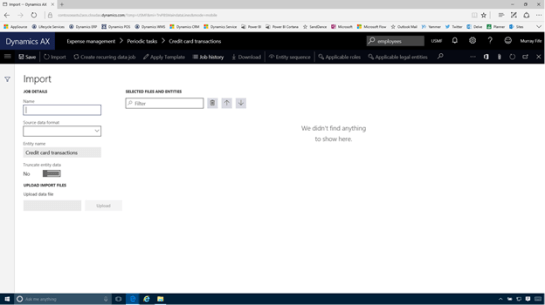
To do this we will return to the Data Management workspace, but this time we will click on the Import tile.
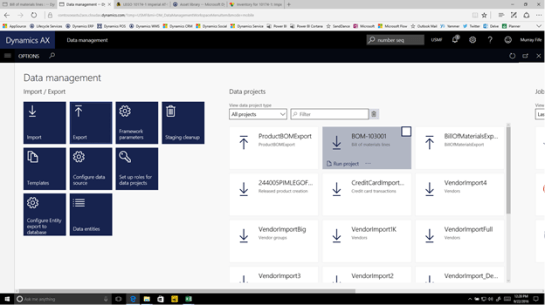
This will open up the Import form.
We will start off by giving our import job a Name.
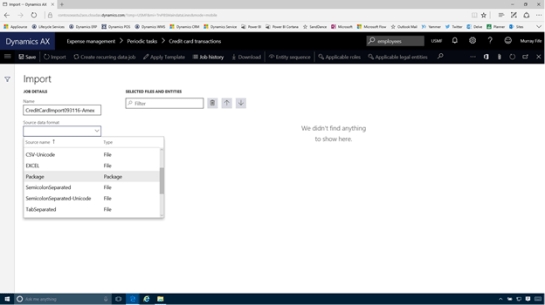
And then from the Source Data Format dropdown list we will want to select the Package option.
Then we will click on the Upload button and select the data package that we just created and click on the Open button.
The Import process will look at the manifest in the package and then create an import job that has the three data entities that we created.
All that is left is to click on the Import button.
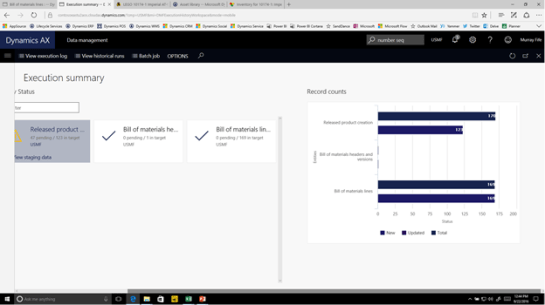
This will kick off the import job.
After a little bit of processing it will report back to us with the import status and the import will be done.
In this case we notice that some of the products were not imported. But that is fine, because they were already in the database. The import only created new records if they were not already there. How clever is that?
Viewing the Results
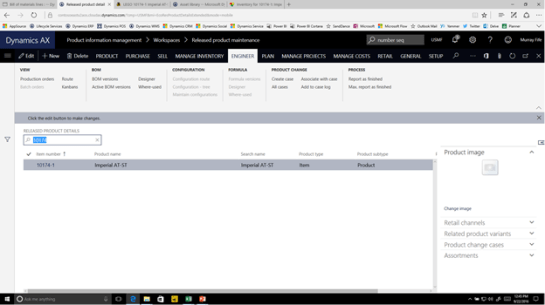
Now that we have imported in all of the data we can start looking at the data that was created.
How it works…
We will see that the parent product has been created for us.
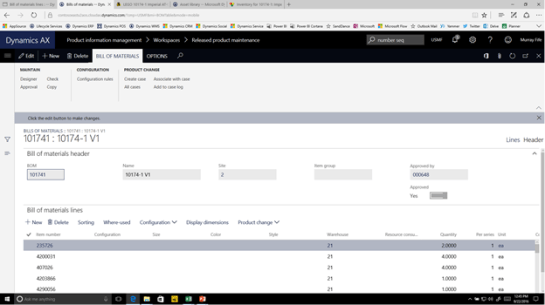
If we drill into the Bill Of Material versions we will see that we have a BOM that is associated with the product.
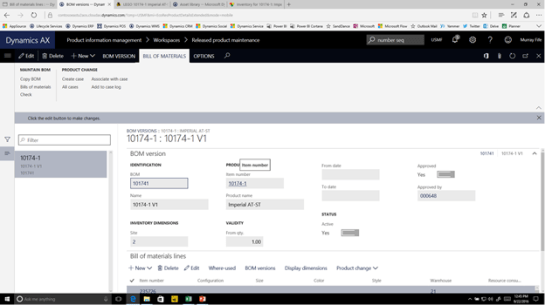
Drilling further into the Bill of Materials we will see that there are also all of the BOM lines along with the quantites.
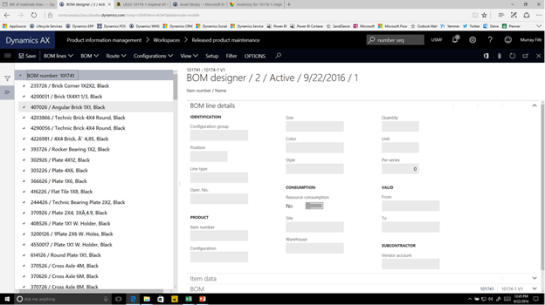
And if we open up the Bill of Materials in the Designer then we will be able to see all of the indented BOM details.
Conclusion
To load this BOM by hand would have taken forever and this whole process only took up a few minutes from start to end.
As a bonus now we can apply this data package to any other system that we like, which is great for demo data.
If we want to create other packages for more data then we can just repeat the process – minus the creation of the initial template package and then save them away.
How cool is that?
About the Author
Murray Fife is a Technical Solution Professional at Microsoft and an Author of over 25 books on Microsoft Dynamics AX including the Bare Bones Configuration Guide series of over 15 books which step the user through the setup of initial Dynamics AX instance, then through the Financial modules and then through the configuration of the more specialized modules like production, service management, and project accounting. You can find all of his books on Amazon at http://www.amazon.com/author/murrayfife.
Murray is also the curator of the Dynamics AX Companions (www.dynamicsaxcompanions.com) site which he built from the ground up as a resource for all of the Dynamics AX community where you can find walkthroughs and blueprints that he created since first being introduced to the Dynamics AX product.
Throughout his 25+ years of experience in the software industry he has worked in many different roles during his career, including as a developer, an implementation consultant, a trainer and a demo guy within the partner channel which gives him a great understanding of the requirements for both customers and partner’s perspective.
For more information on Murray, here is his contact information:
Email: mufife@microsoft.com
Twitter: @murrayfife
Facebook: facebook.com/murraycfife
Google: google.com/+murrayfife
LinkedIn: linkedin.com/in/murrayfife
Blog: atinkerersnotebook.com
Docs: docs.com/mufife
Amazon: amazon.com/author/murrayfife