Although Internet Explorer and Edge are great browsers, Chrome does have one feature that is really useful for us when we are demonstrating Dynamics 365. Chrome will allow us to have multiple personas up and running within different browser sessions and they keep all of their session information separate. So if we are trying to show how multiple people work through a scenario, we can have them up and running at the same time without having to resort to multiple in private sessions and also multiple browser types to keep the people in check.
So even though it pains me to say it, it might be a good idea to use Chrome just for this reason.
How to do it…
Start off by opening up Chrome.
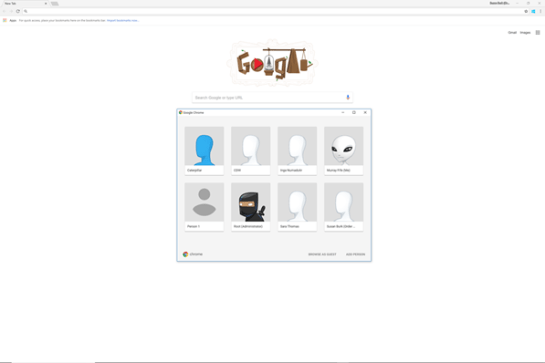
If you haven’t noticed the different profiles that you can switch between within Chrome then click on the name up in the top right of the browser and you will see that there is an option to manage the people profiles.
To see all of the people just click on the Manage people link.

This will open up a list of all of the different people that you can impersonate.
This will open up a form where we can add a new persona.
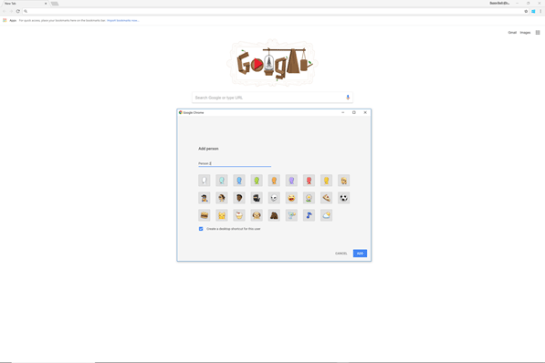
Start off by giving your new demo persona a name. In this case we added Alicia Thomber and also we added the role within the organization as well (Purchasing Agent) so that we can easily see what her role is.
After we have done that all we need to do is click on the Add button.

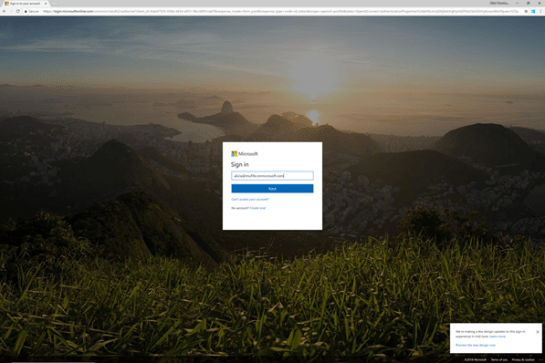
That will open up a new Chrome session for us that is linked to Alicia’s profile and we can open up the Dynamics 365 home page.

How it works…
This will allow us to log into Dynamics 365 with her account information, and we will be able to save this information within her profile.
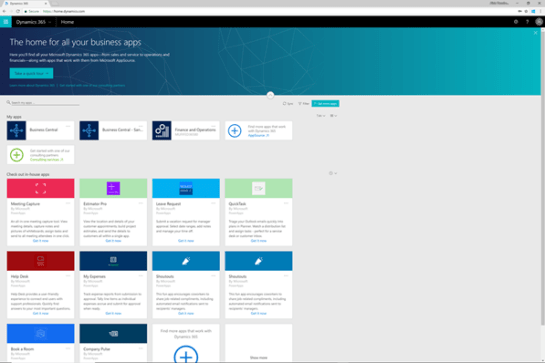
Also, when she logs in she will only see that apps that she is allowed to access.
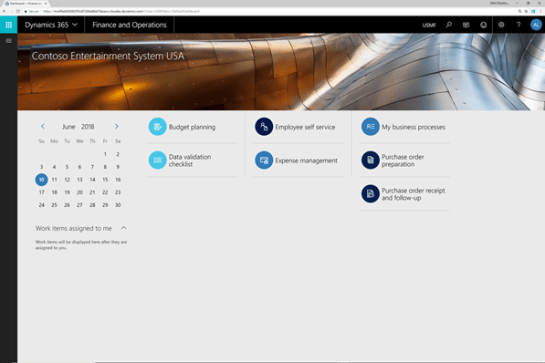
Additionally she will be secured down just to the functions that she has access to within Dynamics 365.
And we can even see all of her information within he Employee Self Service portal.
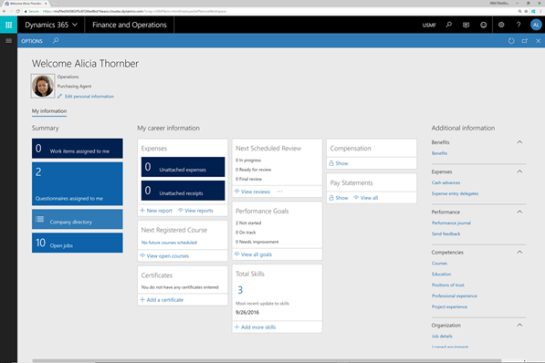
The great thing is that if we are working with multiple personas within the same session, they don’t step on each other’s toes and we can see their details at the same time.

Conclusion
How cool is that. Not only is it easy to separate out the different sessions that we need to run during a Dynamics 365 demonstration, but also we can easily tag the people with roles and even personalize each profile just like we would do in the real world.