This week we have started working on our next project for the Bare Cones Configuration Guide series, which has been to start uplifting the Configuring the General Ledger guide from the Dynamics AX 2012 version to the Dynamics 365 for Operations release. Rather than wait to finish all of the 8 chapters before releasing out this content we have decided to release them out individually as we get them finished.
We are happy to say that the first module for the General Ledger is available and if you want to check it out here are all of the details.
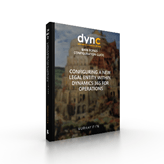
BBCG03: Configuring the General Ledger within Dynamics 365 for Operations
MODULE 1: Configuring the General Ledger Controls
 Before we can start posting to the General Ledger, there is a little bit of housekeeping that we need to do in order to set up all of the codes and controls. We need to configure our accounts that we will want to use within the ledger, set up our chart of accounts and also configure some of the defaults for posting to the ledger.
In this guide we will step you through the initial configuration of the General Ledger so that you can then start using it.
Topics Covered
- Adding Currency Codes
- Configuring the System Parameters
- Adding additional Main Account Categories
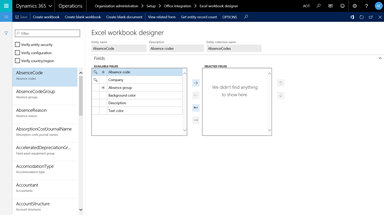
- Importing Main Account Categories through the Excel Add-In
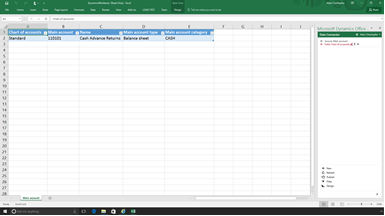
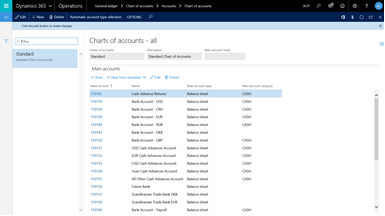
- Configuring a new Chart of Accounts
- Adding a new Main Account to the Chart of Accounts
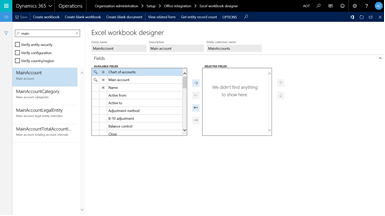
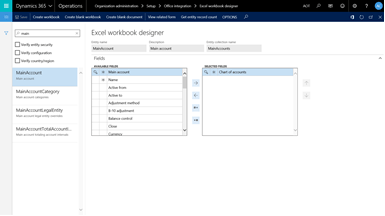
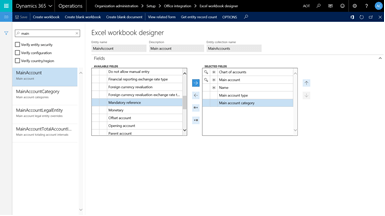
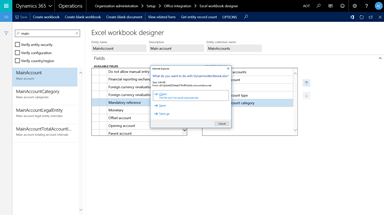
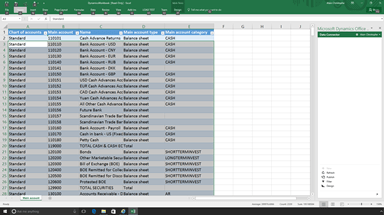
- Creating a Main Account Import Template
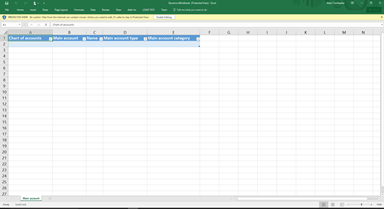
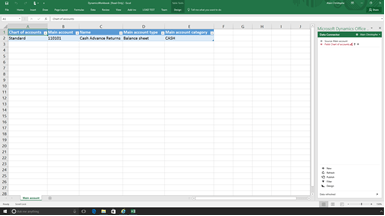
- Populating the Import Template
- Configuring Account Structures
- Creating a new Fiscal Calendar
- Configuring a Company Ledger
- Configuring the Accounts for Automatic Transactions
This module actually shrank a little from the AX 2012 version because of the improved way that we can import data from Excel and even create custom import templates using the Workbook Designer. That feature by itself is worth a peek at this guide.
If you are interesting in checking this guide out (or the earlier versions like the one for AX 2012) then here is a link to the all of the versions of this guide: http://bit.ly/2gHSjjv
If you are really up for a challenge then you may want to take on the Bare Bones Configuration Challenge. You can start with this guide and as we start releasing out the other 15 guides in the series then you can work through them as well. These guides will teach you how to configure a bare bones installation of Microsoft Dynamics 365 from scratch. If you complete all sixteen modules then you will become a Bare Bones Configuration Privateer and we will send you a badge to prove it.
Or if you want to go retro then you can do exactly the same thing with Dynamics AX 2012 – all of the guides are already available.
Also, if you want all of the content on the site and all of the new content that we are delivering then you may want to think about signing up for a Premium Membership. Once you have that you can plunder the entire site and download any of the books at any time. Here is the link: http://bit.ly/2fYMgTW
Watch out for use to release more modules as we get them finished over the next weeks.