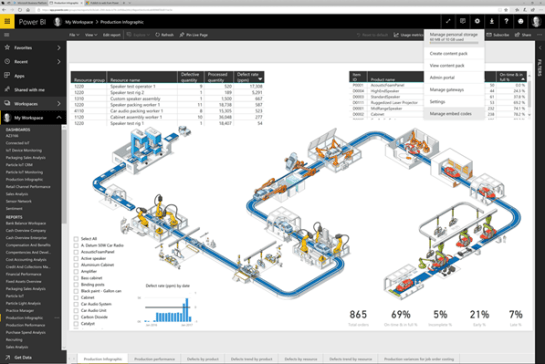
The other day I saw an example of how prospective vendors are onboard in Dynamics 365 for Finance & Operations, and the very first step was the acquisition of the initial vendor details, which was done through an Excel import and the Data Management tools.
Although this is an OK way to do this, I was wondering if there was an easier way that we could do this, and also make the vendor request access themselves through a web page.
One of the easiest ways to gather information is through Office Forms, so I created a quick example that shows how this would be done.
Topics Covered
- Creating a New Vendor Registration Form
- Testing the New Vendor Request Form
- Creating a Flow to Submit the Vendor Request
- Using the Form to Submit a New Vendor Request
Creating a New Vendor Registration Form
The first thing that we will want to do is create the form that the vendors will be able to use to submit their initial request for onboarding. And we will do this by just creating a simple Office 365 Form.
How to do it…
Start off by going to forms.office.com and click on the New Form tile.

This will create our new form where we can start building our form.

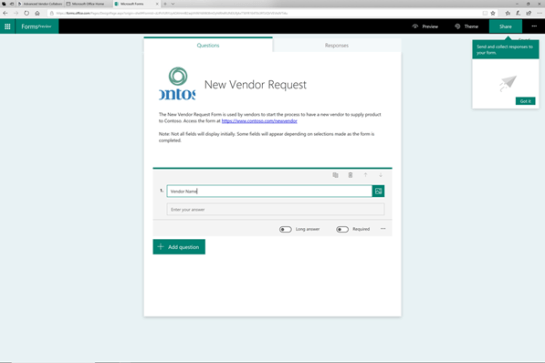
We will start off by changing the default title of the form.

In this example, we changed the form title to be New Vendor Request.

And then we can add a little more information explaining what the form does and what the users should do with it.

If we click on the image icon to the right of the name, we can also do an image search for a logo that we want to add to the form.

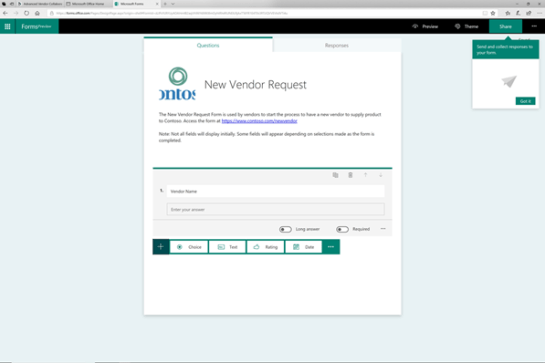
Now that we have done that we can start adding our questions. To do this, just click on the Add question button.

Now we can select the type of question that we want to add. In this example, we will select the Text option.

That will add the question template for us.

We will set the first question to Vendor Name.
Now we can add a second question by clicking on the Add question button again. This next question will be for vendor segmentation, so we will choose the Choice option.
This will open up a different type of question format. We will start off by setting the name of the question to Vendor Type.

Then we will add all of the different vendor types that we want to ask for.

Now we will add a couple more questions. So just click on the Add question button again.

Then click on the Text option.

Set the Question name to Remittance address and for this field, check the Long answer option so that we can have multiple lines.

We will add one last question so just click on the Add question button again, and then select the Text option.

We will set the question name to Corporate address and also make this a long answer as well.

We can spiff things up by clicking on the Themes button in the menu bar and selecting a more exciting theme.

Testing the New Vendor Request Form
Now that we have created our form we can test it out.
How it works…
If we click on the Preview button, the form will open up just as the vendor would see it and we will be able to see all of our choices.

We can start off by entering a Vendor Name.

Then we can select the Vendor Type. In this case, we selected the Other option and was able to write in our type of service.

Then we can type in our Remittance Address.

And then our Corporate Address.
After we have done that we can just click on the Submit button.

This will submit the form to us.

If we want we can see all of the submissions by clicking on the Responses tab.

Creating a Flow to Submit the Vendor Request
Now that we have checked that our form looks good and works we will want to link it to Dynamics 365, and we will do that with flow and trigger an event based on the form being filled out.
How to do it…
We will start off this step by opening up the Flow site and then click on My flows.

This will show us a list of all of the flows that we have created and we can create a new one just by clicking on the Create from blank link.

We will see the suggested connectors, but Forms is not one of them so we will want to expand our search and click on the Search hundreds of connectors and triggers button.

This will allow us to search through all of the connectors.

All we need to do is type in forms, and we will be able to click on the Microsoft forms connector.

There is only one trigger for the Forms connector, so we will click on that one.

That will create our trigger event in Flow.

If we click on the drop-down for the Form Id and we will be able to see the New Vendor Request form that we just created.

Now we want to grab the details from the form, so we will click on the Next step button.

Then we will click on the Add an action button.

This will open up a list of all of the connectors.

We can filter down the actions by typing in forms and then selecting Microsoft Forms.

There is only one action that we can select from, and that is to get the details from the responses.

That will add the Get response details action.

We will want to click on the Form Id drop-down and select the New Vendor Request form again.

Then we can click on the Response Id and add the response id from the previous step.
Now we will want to add an action to update Dynamics. To do this, click on the Add an action button again.

This will open up the action selector.

This time, filter the actions to Dynamics actions and select the Dynamics 365 for Operations connector.

Then select the Dynamics 365 for Operations – Create record action.

That will add an action to the flow that will allow us to create a new record of Dynamics.

Click on the Instance drop-down and select the Finance & Operations instance that you want to update.

Then search through the Entity name list and select the ProspectiveVendorRegistrationRequests entity.

This will allow us to fill in the required fields for the prospective vendor from the responses in the form.
All that is left to do now is to give our Flow a name – here we set it to New Vendor Submission and click on the Create flow link.

Using the Form to Submit a New Vendor Request
Now that we have created our flow we can test it out.
To do this, start off by returning to the preview version of the Form.

Then fill in all of the information for the new prospective vendor, and click on the Submit button.

This will submit the form.

It will then trigger a flow to be performed.

We can drill into the flow and see that it successfully created the record in Dynamics 365.

If you don’t believe it, then just go to the Prospective vendor registration requests form and you will see that there is a new record there.

Review
How cool is that? We used a simple form within Office 365 to capture information and then used Flow as the integration tool to update Dynamics 365. That is too easy!